How to integrate DeskTime with JIRA?
The DeskTime app's integration with JIRA will help you to plan, track and complete the tasks/projects with maximum efficiency. With JIRA's experience in project planning and DeskTime's time tracking options, your company can forget about any mess or misunderstanding among colleagues.
How does it work?
Once DeskTime establishes a connection with JIRA, tasks, and projects are delivered to DeskTime's project section.
Start tracking your project/task with the DeskTime project timer.
No tasks created in DeskTime will be synchronized back to JIRA. The time a user spent on certain tasks/projects will be sent back to JIRA (including manually added time for projects/tasks).
How to integrate DeskTime with JIRA?
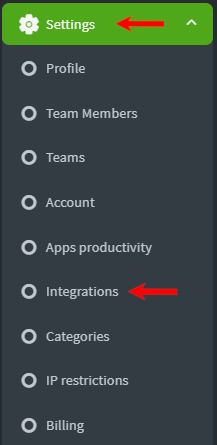
1. Click on Settings and then Integrations:
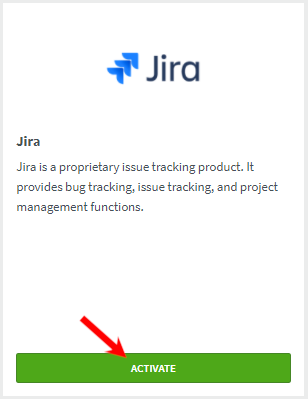
2. Find the JIRA integration under Company integrations in the second row and press Activate:
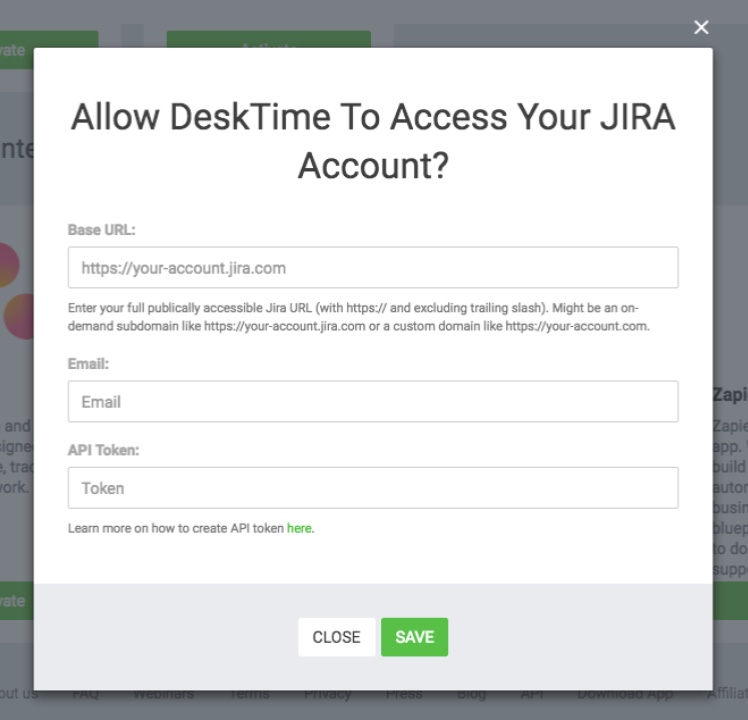
3. You already have to be registered in JIRA as a software user, to create an integration through DeskTime. In order to allow Desktime to access your JIRA account, you have to do the following steps:
- copy the base URL of your account
- Type in your E-mail address
- Copy API key that you can create here
- Click Save at the end
Remember!
- Mark your projects/tasks as public in order to receive tracked time from the DeskTime app.
- When connecting with JIRA for the first time, all projects are sent to the DeskTime app right away.
- All new projects, after integration has already been established, are synced two times an hour (at 0:00 and 0:30 of every hour).
- JIRA sends its projects and tasks to all DeskTime users.
- DeskTime records the time spent on tasks and delivers it back to JIRA.
- Tasks created in DeskTime can't be delivered to JIRA.
- DeskTime synchronizes projects in JIRA only if they have been updated today.
- To improve the work of JIRA integration with the DeskTime projects section, we suggest enabling the JIRA toolkit plug-in, which can be found here.
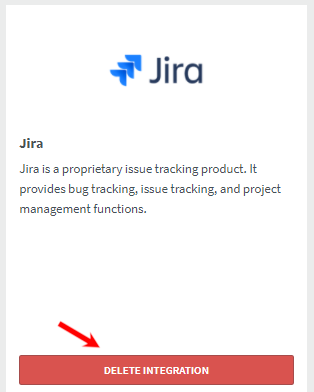
To disconnect your JIRA integration, go to Settings and then Integrations. Afterward, click Delete Integration: