How to create a shift?
The shift scheduling feature allows you to manage your employees’ workdays with ease. Create shifts according to your specific work schedule, create night shifts, and more.
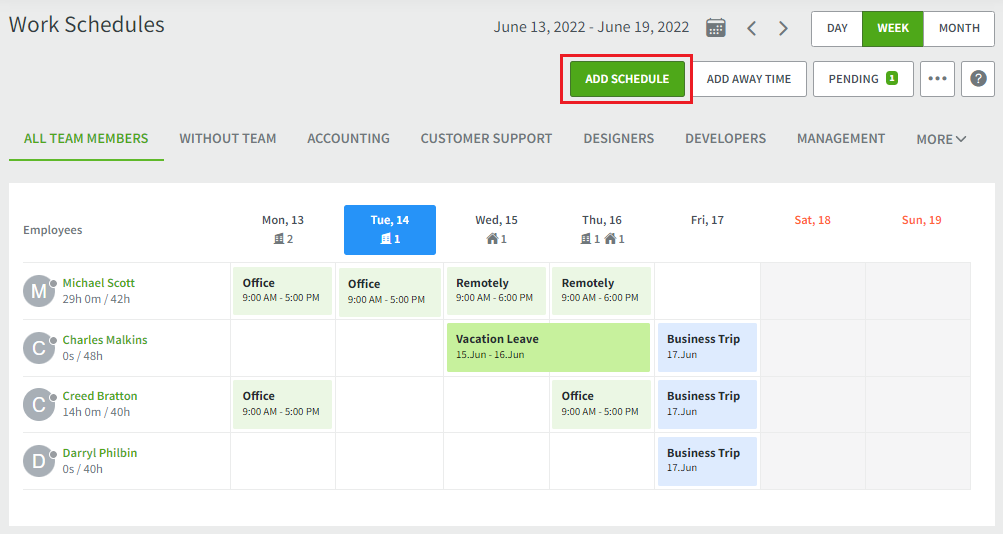
In order to create a shift, go to the Work Schedules section, and in the upper right corner press, the button ADD SCHEDULE.
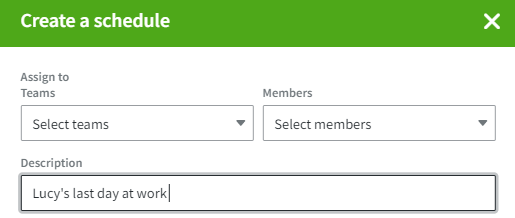
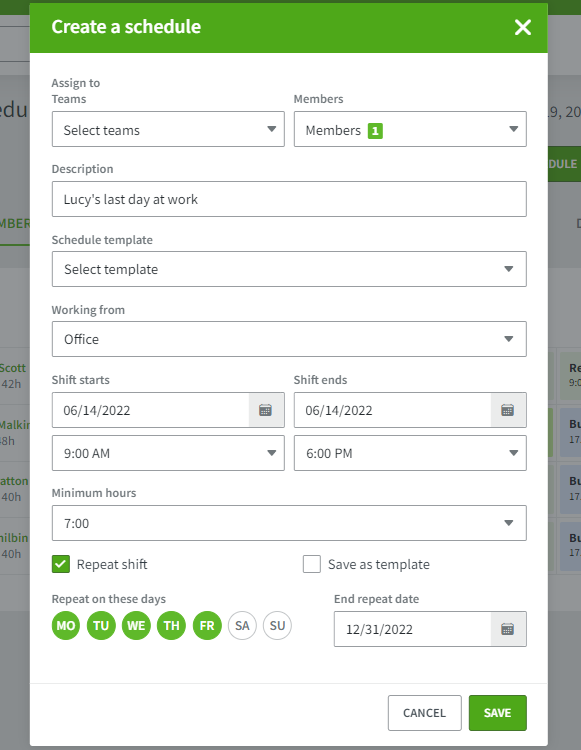
This will open a menu to create a new shift:
1. Assign to: Select a team or specific employees to which you want to assign the shifts.
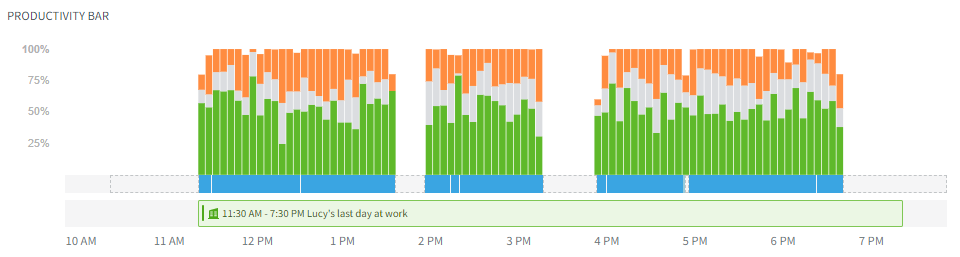
2. Description: Leave a description for the shift that users will see in their Productivity bar on the selected date; that can be anything from specific tasks, special events, or important things to keep in mind during that shift.
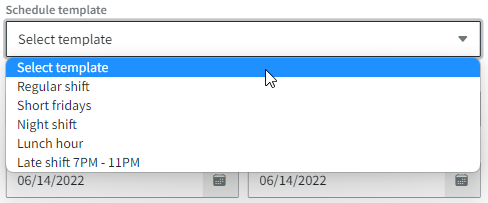
3. Schedule template: Select an already existing template to quickly add the necessary shift information.
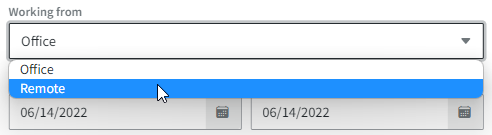
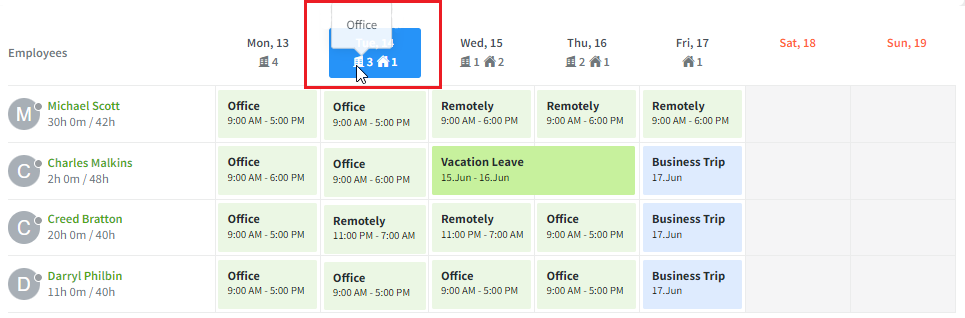
4. Working from: Choose where you will be working from - Office or Remote. The location will be visible for your colleagues in the Team members section and also in the Work Schedule's calendar grid. This information also can be exported with the Work Schedule export.
5. Shift starts/ends: Select the date and time the shift starts - for daytime shifts select the same date. For nighttime shifts, that go over midnight, appropriately select the dates when the shift starts and ends.
6. Minimums hours: Select the minimum hours the user is expected to work productively during the shift. If the shift times include lunch or other breaks, discount them from the minimum working hours. This feature lets you track the specific amount of time your employee should be working actively on the computer; the effectiveness data will be calculated using these specified minimum hours.
7. Repeat shift: To apply the created shift for multiple days, weeks, or even months, checkmark the 'repeat shift' box. In the calendar's box select the end date till when to repeat this shift and it will be applied to all the selected time periods automatically.

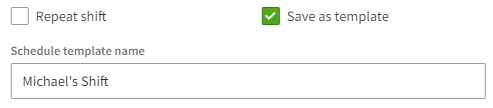
8. Save template: Mark the checkbox if you wish to save the created shift as a template and use it again in the future. Write the template’s name to find it easier in the list later on.
9. Don't forget to click SAVE!
You have now successfully created a shift. It will appear in the My Desktime section, keeping track of your working day and arrival times compared to the shift.
Keep in mind:
- All shifts created by Employee role users by default must be approved by the Account Owner or an Admin. Learn how to do that here.
- You can disable the feature to approve the users' shifts in all level Settings → OTHER, meaning that every user will be able to add their shifts as needed without Admin's or Owner's additional approval.

- Time will not be tracked on the days when tracking is disabled, even if a shift is planned. Learn more about tracked days settings here.
To learn more about planning shifts and managing employee work times, read our blog article.