A guide to creating a project timeline
A project timeline is just like a road map that helps you reach your destination and get from point A to point B. But how to create a practical one? In this article, we’ll discuss what a project timeline is, its importance, and the variables of any project. We will also walk you through a simple step-by-step template that will be useful for any project and help you put together a realistic timeline like a rockstar.
What is a project timeline?
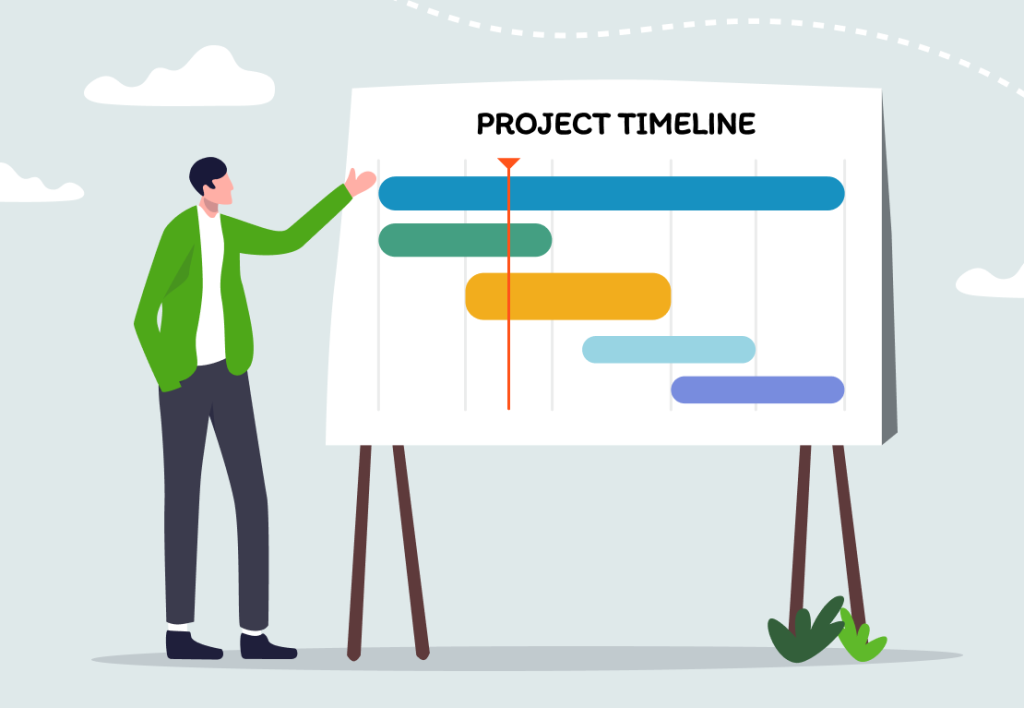
A project timeline is a visualization of tasks and activities that are arranged in chronological order to lay out the process of working on a project, as well as guide the people working on it.
Want to get the most out of your time?
Try DeskTime for free!
Try free for 14 days · No credit card required.
By signing up, you agree to our terms and privacy policy.
Why is it important to create a project timeline?
For any project, you need a strategy for achieving the goals you have in mind. Even for this article to be published, there was a process put in place that had clear objectives, a deadline, and several hours of research, writing, and editing behind it.
A project timeline provides clarity on those goals and makes it easier to measure and track progress. It also shows how much work exactly needs to be done and serves as a basis for straightforward communication within the team. Clear expectations and communication are some of the things employers often struggle to implement, according to an employee survey done by Gallup, so they should be vital components of working on any project.

Having a well-constructed project timeline also makes the team more flexible and adaptable to real-time change. A timeline is a sample plan, and plans have a tendency to change along the way, so having a solid foundation will make adjusting the course less intimidating. It will provide you with the ability to learn from what has been done up to a certain point in the timeline and estimate what, if anything, needs to be changed moving forward.
Moreover, a clear project timeline will also allow you to assign different tasks to the right people and see who can step up and learn new skills and who can effectively use their expert power to attain the best results.
The variables of any project timeline
Before we jump into the guide of how to make a project timeline, let’s quickly look at the variables. Your timeline will consist of five main building blocks:
- Tasks — what needs to be done;
- Deadlines — what time frame you have for completing those tasks;
- Duration — how long it will take to complete the project and individual tasks;
- Dependencies — what tasks depend on one another;
- Resources — who can work on the project, and what other resources are needed for the project.
These variables will rely upon each other and be necessary to lay the groundwork for your project timeline.
Seven steps to developing a project timeline
There are many project timeline examples out there, but we have put together a simple seven-step template for creating a project plan that will help you get your project done in the most efficient way.
Step 1: Determine the scope of the project
The first step to creating a project timeline is to determine the scope of your project. It involves understanding the end goal of the project and when it needs to be delivered. Start by establishing the main objectives of a project in a way that provides a broad, big-picture initiative.
Step 2: Break it down
Next, take the goal of your project and spell out what tasks need to be completed in order to achieve that goal. Breaking your project down into smaller chunks is going to be crucial for a successful timeline and will serve as a stepping stone for determining the rest of the variables.
A comprehensive list of deliverables will ensure that there are no gaps in what exactly needs to be done. If there is a need, don’t hesitate to subdivide tasks into even smaller ones, as it will contribute to more clarity and guarantee that no detail is left behind.

Step 3: Define task dependencies
When it comes to a project timeline, no task exists in isolation. Defining what the dependencies of the tasks are, refers to figuring out the relationship between them and how they impact one another.
Once you’ve broken down a project into smaller tasks, understand what needs to be done in order to achieve them and, more specifically, what tasks depend on the completion of others.
For example, in order to review and edit a draft for a blog post, there needs to be a draft written in the first place.
Step 4: Estimate how much time is needed
When dealing with the “time” part of a project timeline, one final deadline is not enough. It would be like looking at a map, seeing where you need to go and when to get there, but having no understanding of what it will actually take to get there.
Estimating how much time is needed in order to complete each task is another integral part of putting together your project timeline because it will help you to confirm that the overall deadline is achievable.
Keep in mind that building a buffer around those timelines is essential because it allows for a reasonable margin of error in case some tasks need extra time for additional evaluation or revision.

Want your business to thrive?
Boost your team’s productivity and efficiency ratings with time tracking!
Step 5: Evaluate your resources
After figuring out what bigger and smaller tasks need to be completed to achieve your goals and how much time is needed for each individual process, you will need to evaluate the resources that are available for your project.
A resource can be anything — how many employees are available to work on the project, what equipment or technology is needed, what the financial implications are, what other projects are simultaneously taking place, and how much knowledge or previous experience the team has, depending on whether or not there has been a similar project completed in the past.
Once you know what resources can be allocated to delivering the objectives of a project, you can go back to the previous step and see whether or not the allocated time for individual tasks is reasonable.
Step 6: Mark your milestones
Next, you will need to determine how to measure success along the way. In order to do so, take the outlined tasks, timeline, and resources of your project and spell out what major milestones are needed in order to achieve the desired outcomes. Milestones help to track progress in a concise way and can be anything that fits the needs of tracking progress for your specific project — dates, tasks, or any other specific deliverables.
The purpose of incorporating milestones into your project timeline is to help make the project even more digestible and divide it into comprehensible phases. Each completed phase will give team members a sense of accomplishment and will provide an extra boost of motivation to keep going forward.

Step 7: Construct your project timeline
Lastly, after working out the details of your project, it’s time to actually put its timeline together. In this final step, you can choose to utilize a premade template on a project management platform or create a spreadsheet that is shared among the members of the team. It doesn’t have to be extremely elaborate or complicated but rather functional and easy to follow.
Start by creating a timeline that is allocated for the completion of the whole project and then fill in the rest — add the tasks in accordance with their priority, assign them to the team members, include estimated time for each task, and mark the milestones.
Pro tip: if you want to stay on top of tracking how much time employees spend on their tasks and how long it takes for a project to be finished or even estimate how much a project will cost, DeskTime’s automatic time tracking software is here to assist you.
To sum up
While creating an extensive project timeline may seem like a challenging task at first, it will boost the efficiency and productivity of your team, as well as be rewarding in the long run. Remember to evaluate each variable carefully, and don’t be afraid to seek input from others if you still don’t know where to start or get stuck somewhere along the way. For many team members, it is important to be included in the process of creating a project plan and feel like their contributions make a real difference.
Did you find this article useful? Give it a clap!
Psst! You can clap more than once if you really loved it 🙂