9 simple Outlook Calendar tips and tricks for beginners

If you’re looking for beginner Outlook Calendar tips and tricks, you’ve landed on the right blog article. In this read, we’ll explore some easy yet valuable hacks on how to use Outlook Calendar effectively.
Microsoft Outlook is the second most used email service in the world, right after Gmail. The estimated number of users for Outlook services is about 400 million. It’s a great help in organizing your emails, tasks, calendars, and more. And while Outlook offers a variety of helpful functionalities, let’s look at the Calendar specifically and see if and how it can ease managing our schedules.
Want to get the most out of your time?
Try DeskTime for free!
Try free for 14 days · No credit card required.
By signing up, you agree to our terms and privacy policy.

Table of contents
- Starting with Outlook Calendar
- Outlook Calendar tips for visual customization
- Outlook Calendar organization tips for added work productivity
- Outlook Calendar tips for added efficiency
Starting with Outlook Calendar
As this article is dedicated to beginner Outlook Calendar users, why not start with the basics?
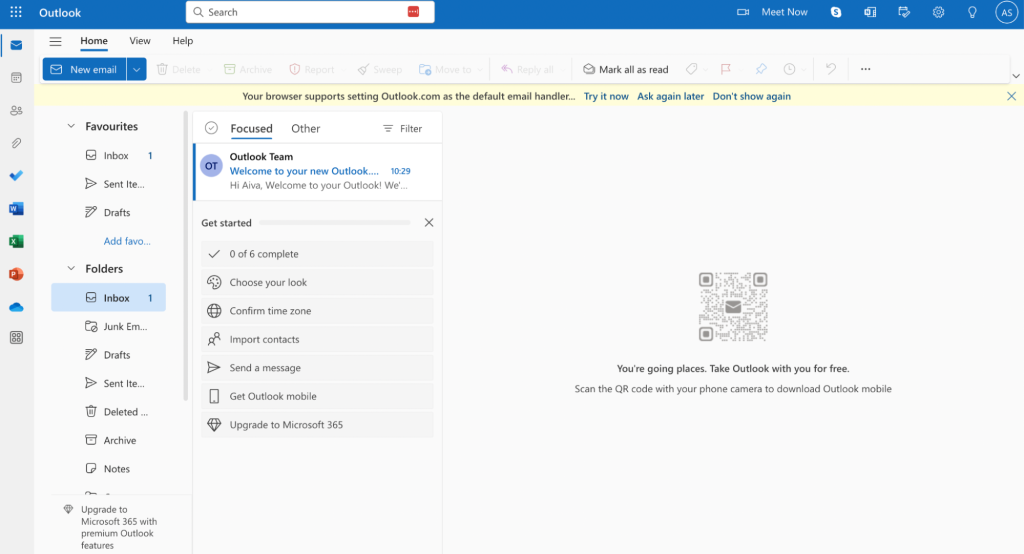
The first step to start using the Outlook Calendar is setting up your Microsoft Outlook account, which can be done for free and takes less than a minute. You’ll be asked to add your username, password, name, surname, country, and birth date. After creating your free account, you’ll be redirected to your Outlook Home page.
It’s up to you whether you keep using the free Outlook version or unlock the premium features by subscribing to Microsoft 365.
My two cents – the free version is quite good, and it may be enough to begin with, especially if you’re using Outlook mainly for the Calendar.
Now, moving on to the Calendar part. To find it, look for a calendar icon on the left side of your screen and click it. Voilà – you’ve arrived!
Outlook Calendar tips for visual customization
Let’s start with a few Outlook Calendar tips to make it appear more visually appealing and convenient.
1. Select the most convenient Calendar view
Similar to other calendars, Outlook Calendar offers several view options you can choose from. To do that, select View on the top left corner of your Calendar page, and you’ll see a bar with several alternatives appear.
The options include the standard daily, weekly, and monthly views. However, Outlook Calendar offers some nice extras, such as:
- Option to set up a view of up to the next seven days
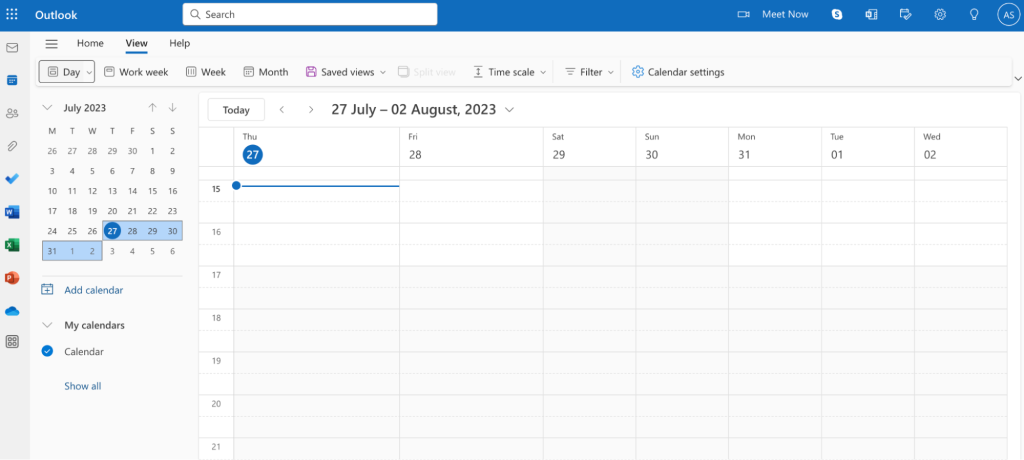
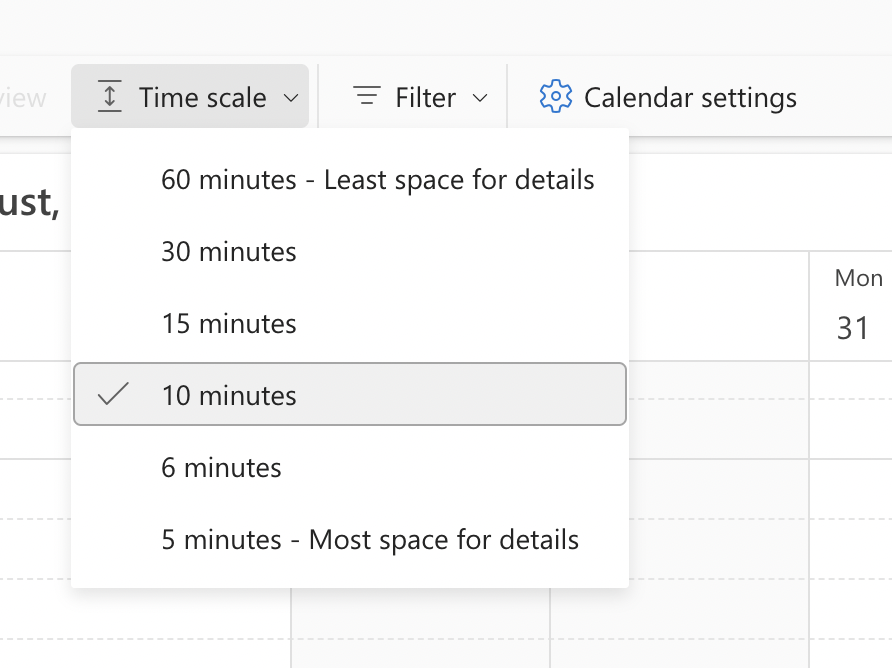
- Pick the Time scale for the Calendar
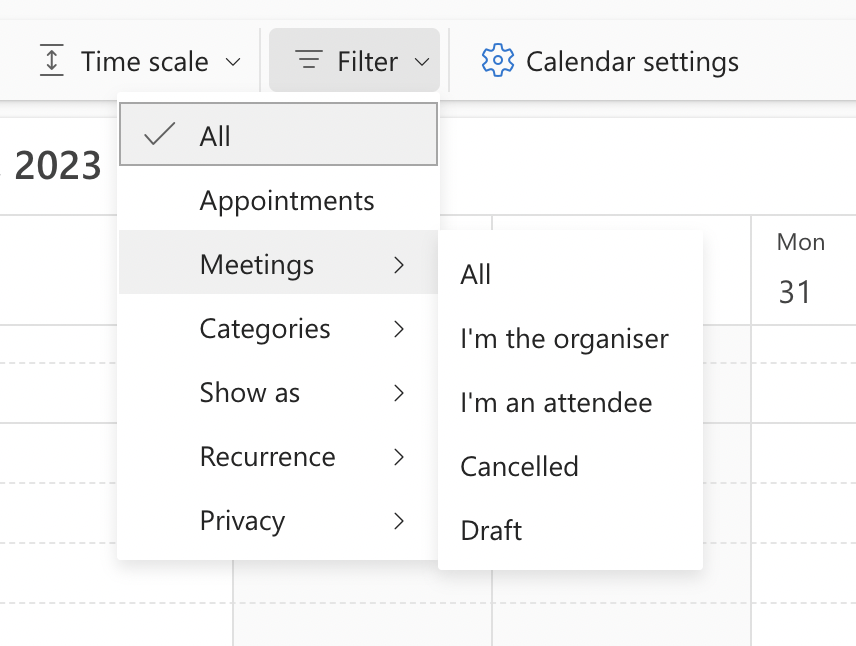
- Filter the events that you want to appear on your Calendar
- A Split view that can present several calendars next to each other for a better overview
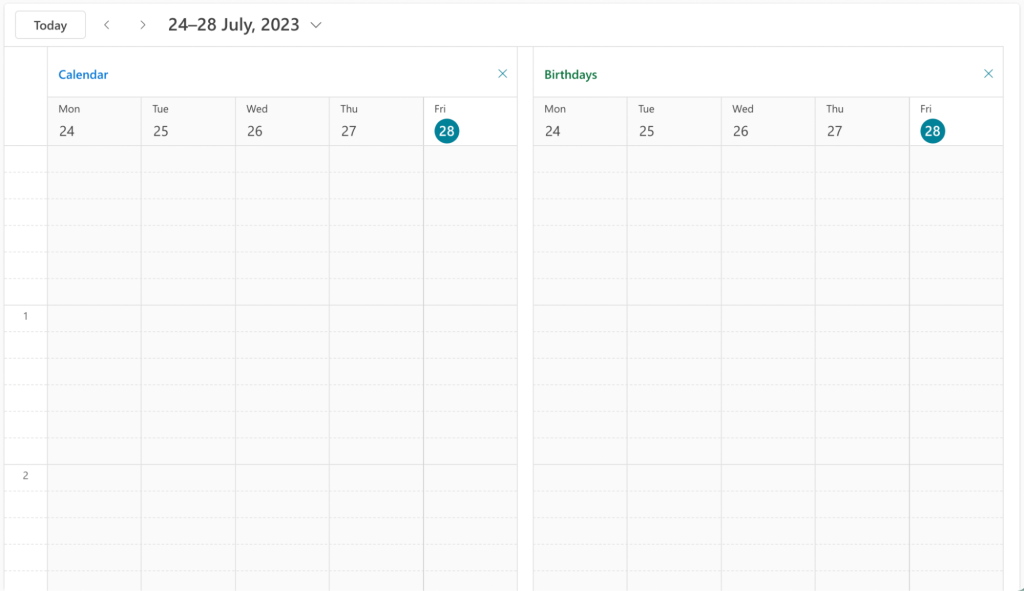
Experiment with the view options and choose what suits your needs best!
2. Pick a theme and dark/light mode
I don’t know about you, but I like to customize the appearance of the tools I use – it makes my daily routines a bit more fun. Luckily, Outlook Calendar offers visual customization as well. Here’s how you can manage it.
Find the settings icon on the top right side of your Calendar view and click it. A pop-up window will appear, redirecting you to Settings. Select General settings and then choose the Appearance section.
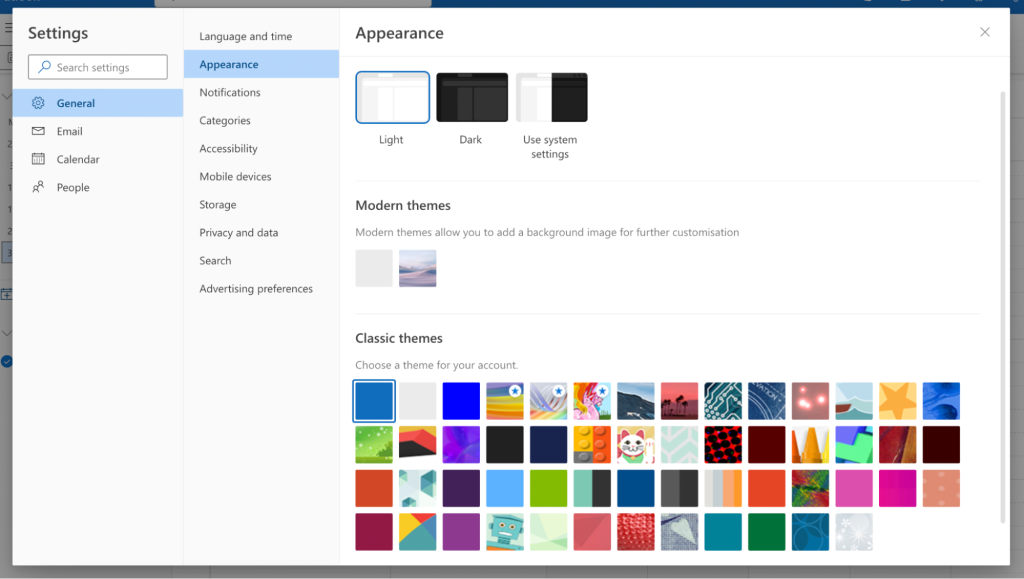
Now you’re able to customize the appearance of your Outlook Calendar:
- Choose between the light or the dark mode
- Choose from the Calendar themes to add more color to your daily schedule
Outlook Calendar organization tips for added work productivity
Outlook is widely used among companies as many say it provides better security than similar tools. Thus, chances are you’re looking into Outlook Calendar organization tips because of your work. And that’s precisely why we’re presenting you three Calendar hacks to add more productivity to your workday.
3. Display your working hours and days
To ensure you don’t have anything work-related booked outside your working hours and you don’t work overtime, it may be a good idea to set the Calendar to display your working days and hours only.
Here’s how it’s done. Open the Calendar settings section (click on the settings icon in the screen’s upper right corner). Then, in the pop-up window, select View.
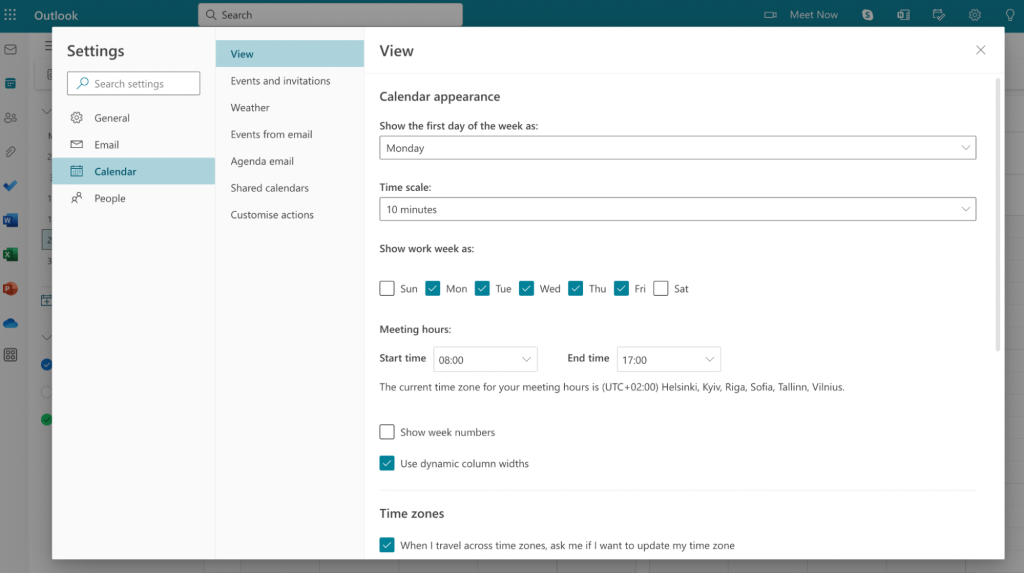
Here you can adjust your working days, time zones, and meeting hours to easily track whether you’ve booked anything outside your working time.
4. Schedule automatic breaks between meetings
A crucial prerequisite of being productive is taking regular breaks. And while it may sound counterintuitive, research shows it’s true.
Hence, scheduling meetings one after another is a mistake that can and will cost you productivity and efficiency. While you often cannot impact the length of meetings you’re asked to participate in, you can influence the length of meetings you’re hosting. And this Calendar hack can help you.
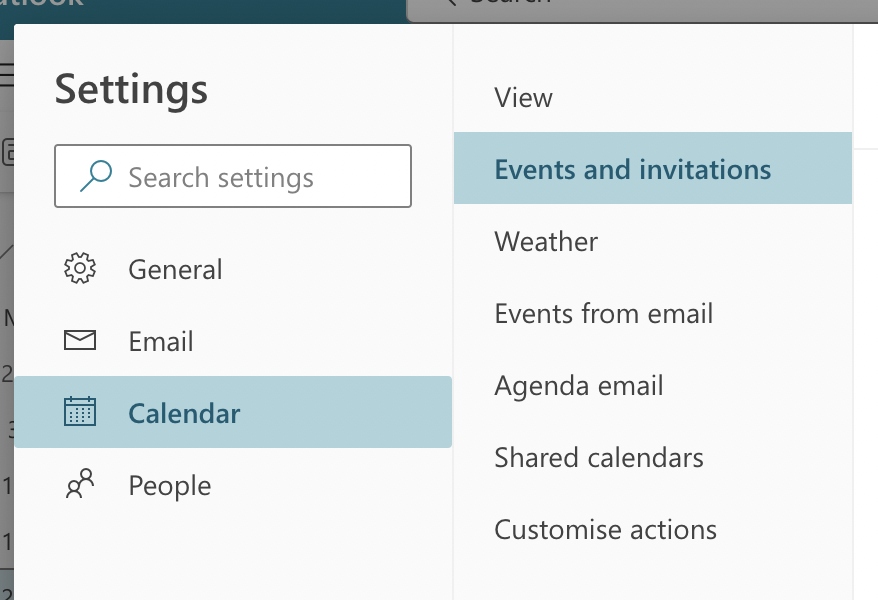
Open the Settings section and then select Calendar. Now you have to click on Events and invitations, and the necessary configurations will appear.
As you access the section, you can now set up your Outlook Calendar to automatically start meetings late or end them early. I’ll go for ending meetings early and show you an example of how it’s done.
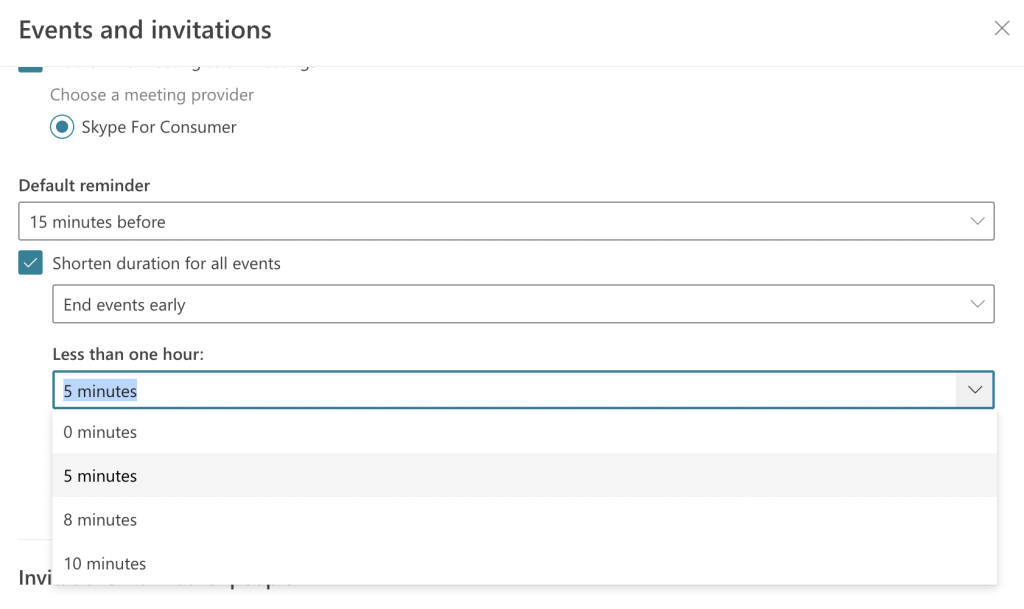
In the Events and invitations configuration window, you’ll see the phrase Shorten duration for all events and a checkbox next to it. As you tick the box, more settings will appear.
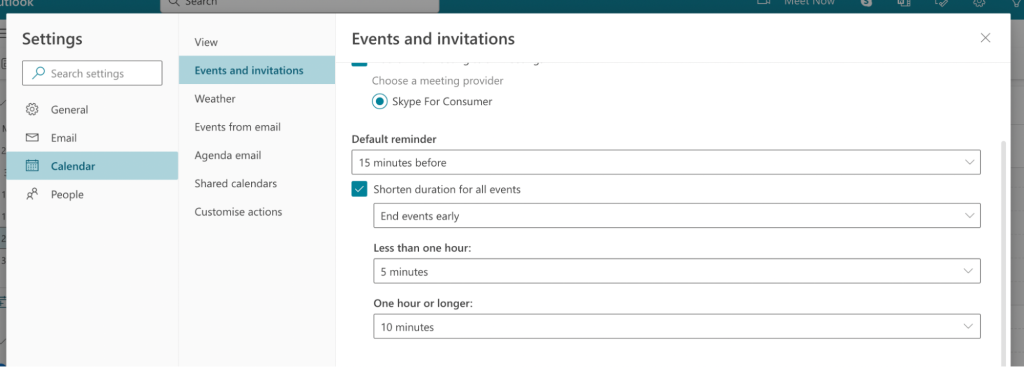
Now, I want to set an early ending to all my meetings. I select End events early at the first dropdown (there’s also an option to choose Start events late). Then at the second dropdown, I select that I want to end meetings 5 minutes early if their duration is less than one hour.
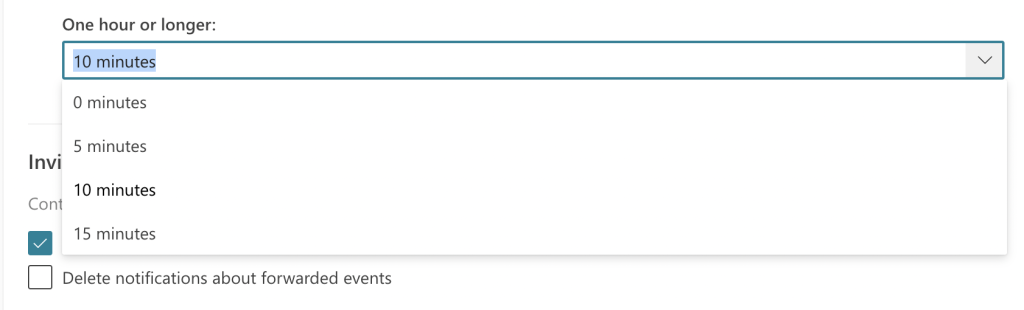
And I decided to schedule an automatic 10-minute break or end meetings 10 minutes early if they last one hour or longer. I do that at the following dropdown.
Then I hit the Save button in the bottom right corner of the window, and my new take-a-break rule is all set.

Productivity Booster
Discover DeskTime integration opportunities for a streamlined workflow and enhanced efficiency!
5. Receive daily agenda emails in your inbox
When our lives are busy, it’s easy to forget something. And speaking from personal experience, it’s more likely that we forget grandma’s birthday than an important meeting with a client – unfortunately. To avoid such situations, Outlook Calendar offers an option to send a daily agenda email.
Open Settings and click on the Calendar section. Find Agenda email on the menu.
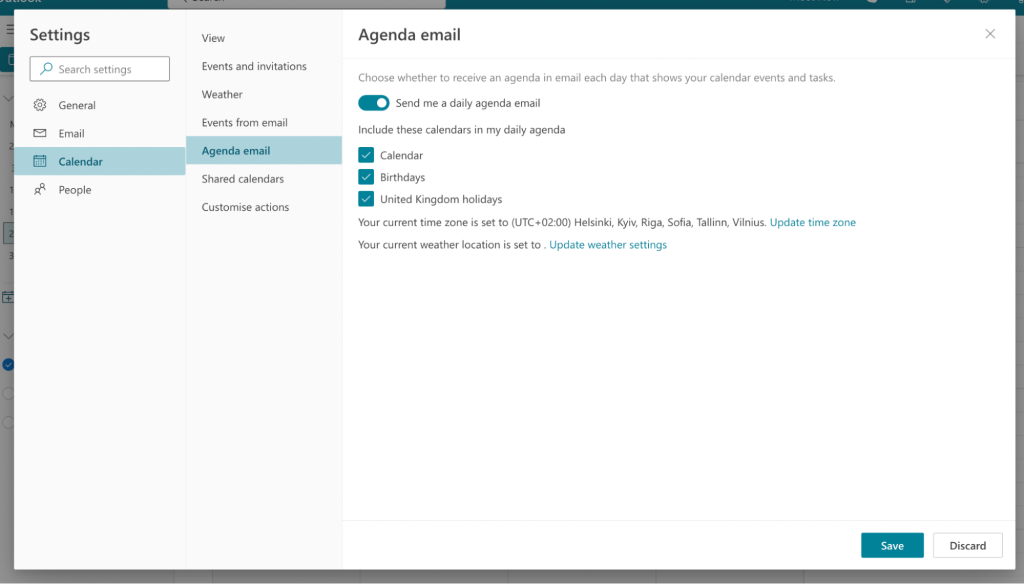
Now you can enable the daily agenda email and choose what information it will deliver to your inbox. Remember to hit the Save button after you’re done setting it up.
Outlook Calendar tips for added efficiency
Now that we’ve shared some Calendar hacks to boost your productivity, let’s look at Outlook Calendar tips that could also improve your work efficiency.
6. Drag and drop tasks to your Calendar
Outlook offers several tools besides Calendar that you can use to work efficiently. One such is Outlook’s Tasks and To-do list. We won’t dive deep into its tips and tricks, as that would be another blog post. But there’s a convenient way to ensure you don’t miss important tasks and deadlines – directly dragging and dropping tasks into your Calendar.
Here’s how it’s done. In the upper right corner of your Calendar view, find an icon that looks like a notepad with a tick, and click it. Your to-do list will appear on the right side of your dashboard.
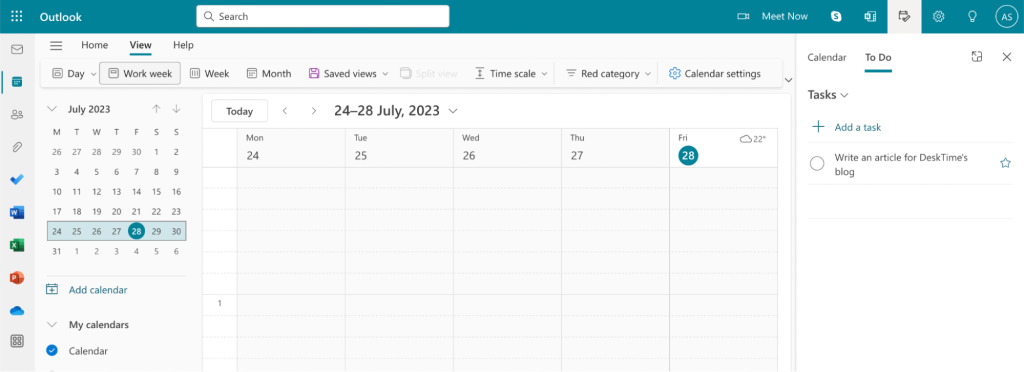
To add tasks from your to-do list to your Calendar, simply drag and drop the task to the day and time slot of your choice.
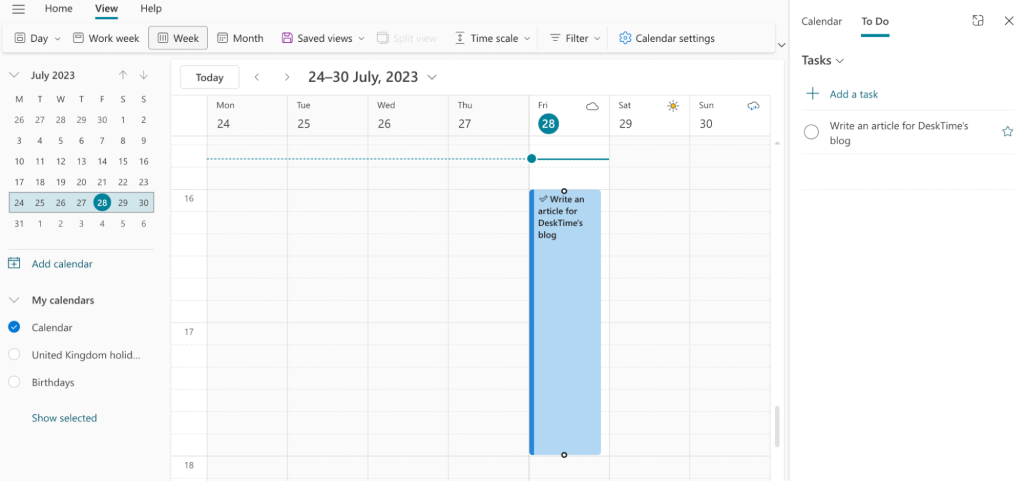
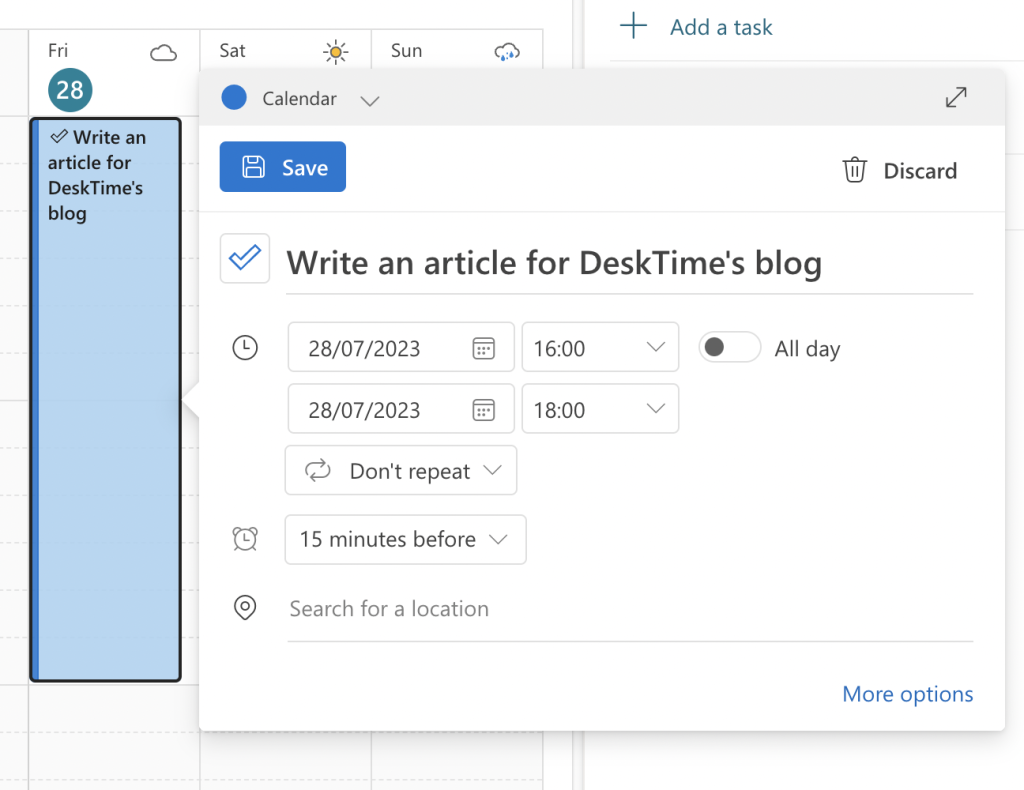
You can also click on the newly added task, select Edit and edit details of the task, such as length, date, whether you want to allocate a whole day to it, set a reminder, set the task as repetitive, and more.
7. Color-code your Calendar
Color-coding is known for helping organize information more efficiently. And when it comes to your Outlook Calendar, using colorful marks can help you better navigate the potentially confusing waters of your schedule.
Here’s how you can set up colorful categories to mark specific events, meetings, and tasks in your Calendar.
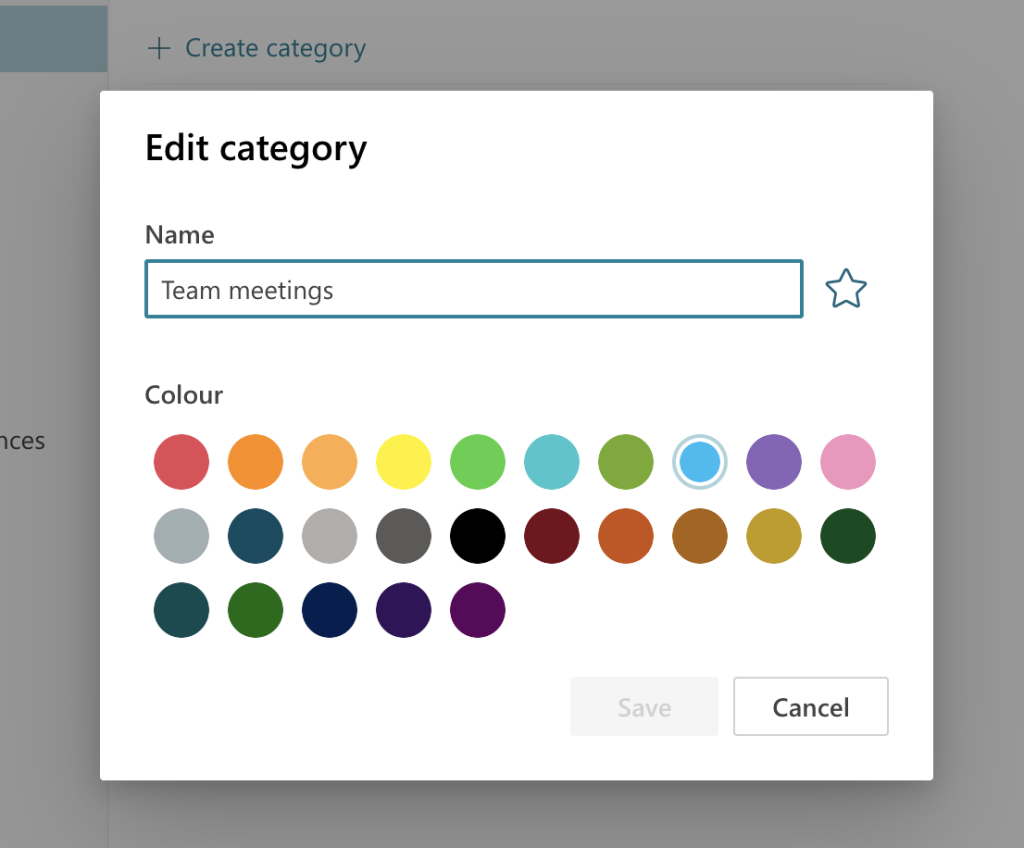
Open the Settings section, and select General settings. Then click Categories in the General settings menu.
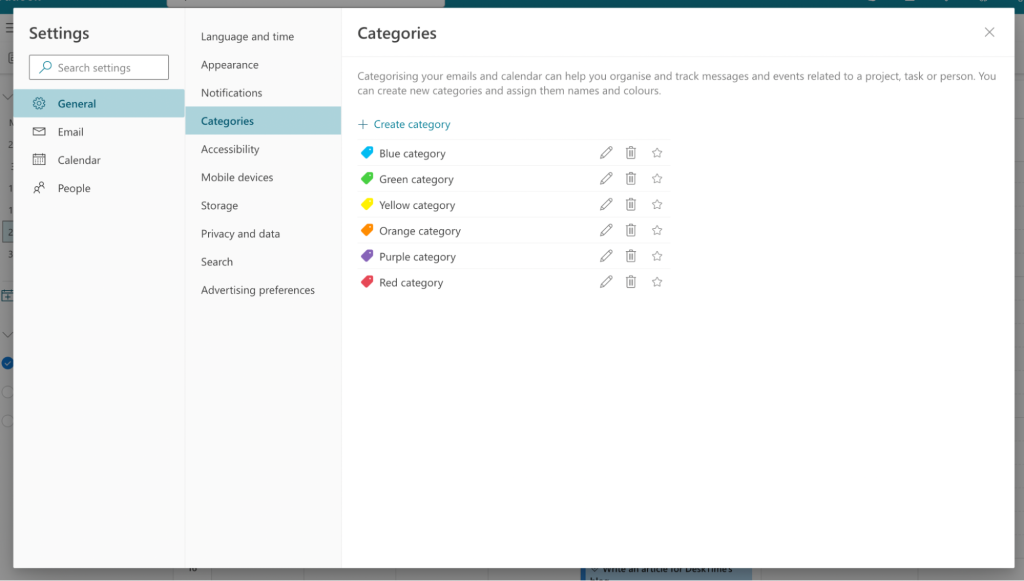
Now you can assign color categories to appointments, events, meetings, and more.
Here’s an example. I wanted all the team meetings to appear in my Outlook Calendar colored blue. I clicked on the pencil icon next to the Blue category and then added the category name of my choice.
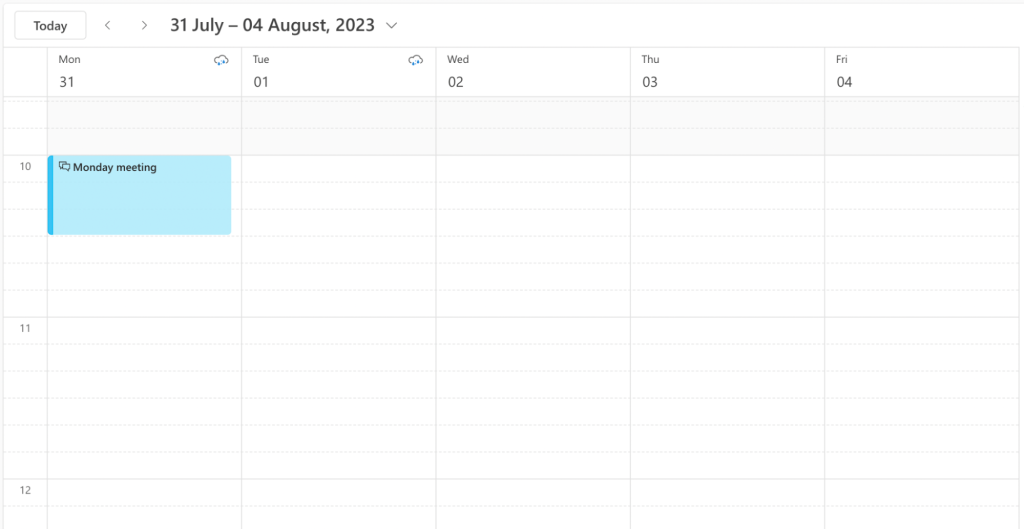
Whenever I create a new event on my Calendar, and it’s a team meeting, I can categorize it as one to ensure I don’t miss it and be prepared if necessary.
8. Use description templates when creating events
If you’re using Outlook Calendar for work purposes, chances are you’re creating many events – especially if you’re a team lead or a manager. And it can feel burdensome to write event descriptions each time you add a new event to the Calendar.
While it may not take up too much time of your workday, small tasks still take your energy, and it’s nice to have a way of automating them.
Good news – you can create and use event description templates on Outlook Calendar instead of writing event descriptions every time from ground zero. Here’s how this simple Outlook Calendar tip works.
Hit the New event button on the upper left side of your Calendar view. A pop-up window will open where you can add all the event details, such as date, time, location, and the event description.
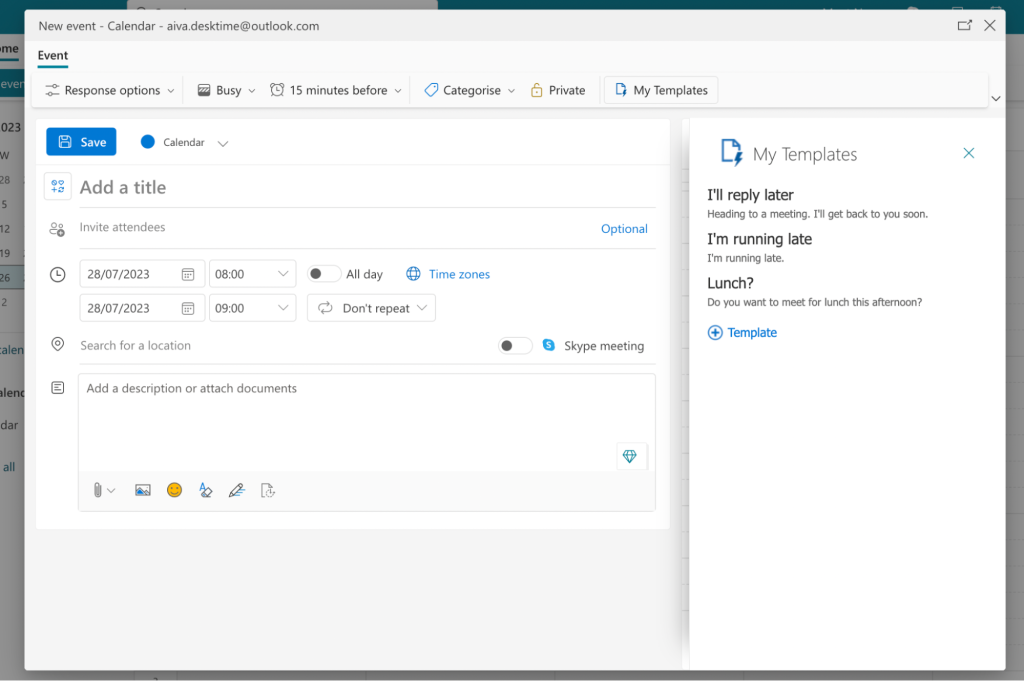
Now, find My Templates on the right-ish side of the window and click it. An additional section will appear on the right side, offering you a few example templates and an option to add a new one yourself. Click +Template.
Now you can add a new event description template – name it and add the needed description.
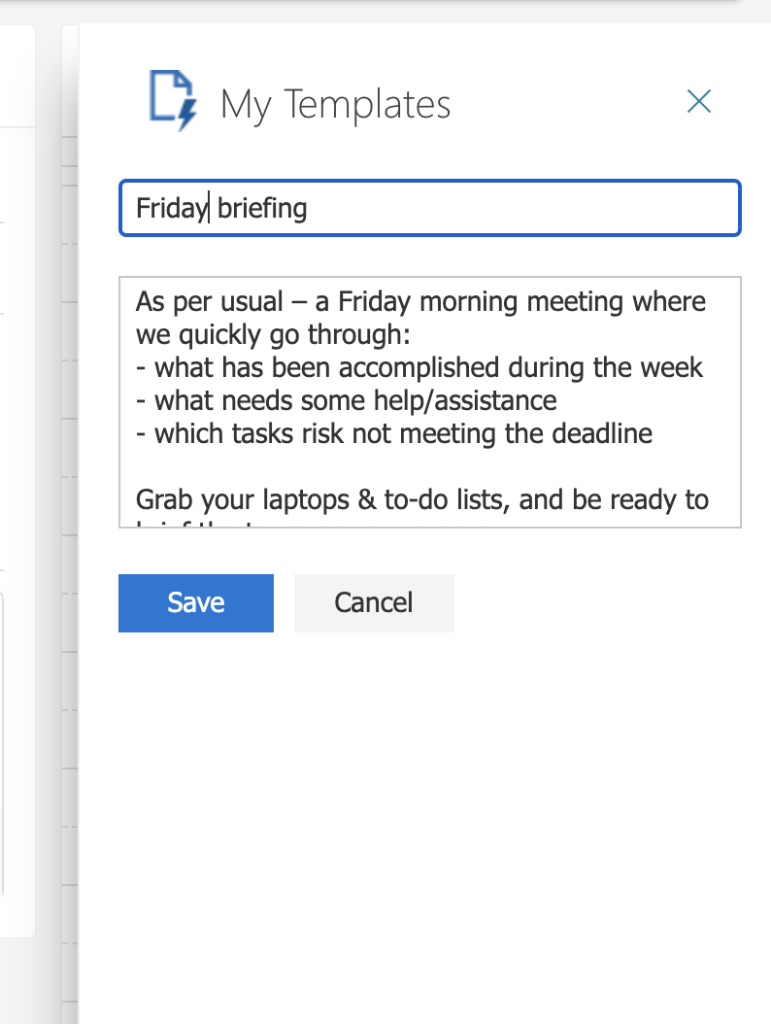
When you’re done, hit the Save button, and the newly created template will appear on the templates list. To add it to your event, just click on the template, and it will pop into place.
9. Add several time zones to your Calendar
This Outlook Calendar organization tip can be helpful to those who work with people from different time zones. Remembering a two-hour difference when scheduling meetings and calls is not that hard, but it may be a challenge when the work is completely asynchronous.
You can add up to three time zones to your Outlook Calendar view to make it easier. Here’s how.
Open Settings and go to the Calendar section. Then browse the View segment and scroll until you see a Time zones section.
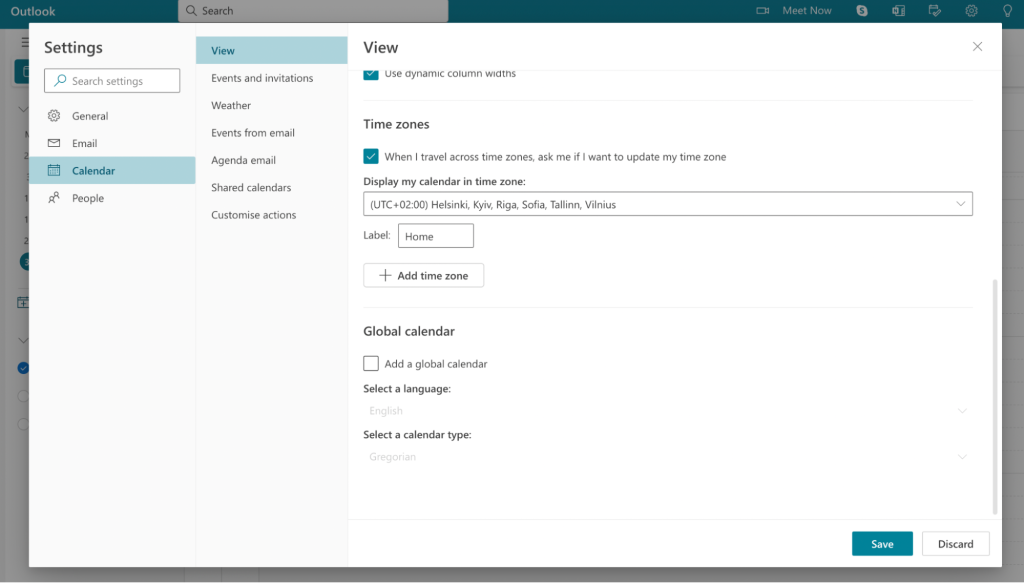
Now, click the +Add time zone button, and search for the location whose time zone you want to add. You can also add a label to distinguish the time zones better as they appear on your Calendar. You can add up to three different zones at once.
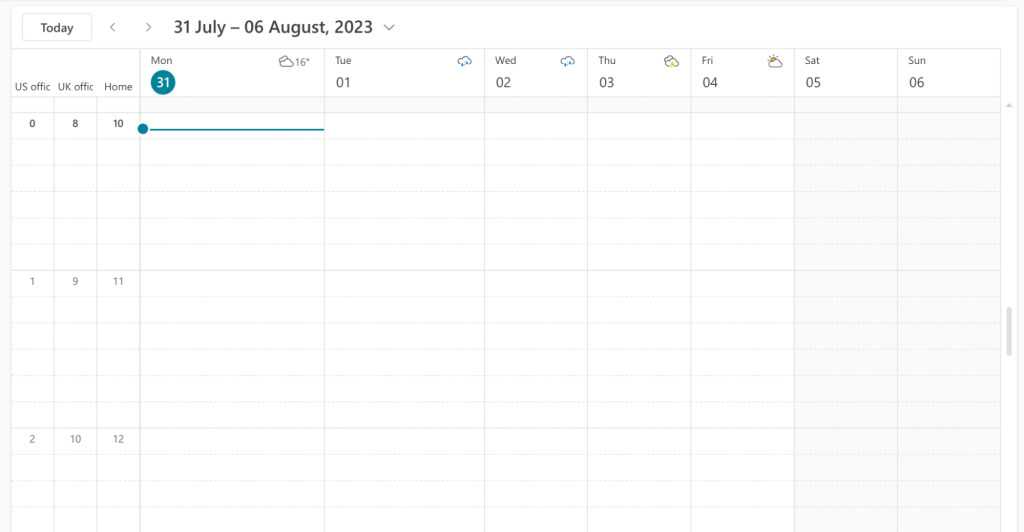
Here’s how the three time zones added will look on your Calendar.
Concluding on Outlook Calendar tips and tricks
In this article, we’ve looked into nine beginner Outlook Calendar tips and tricks. However, many more hacks can help with efficient and productivity-boosting tool use. As you dive deeper into the world of Outlook Calendar, it can revolutionize how you manage your time, help you streamline productivity, and achieve a better work-life balance. Additionally, explore how our Outlook integration can enhance your productivity and ensure all your tasks are efficiently managed.
Did you find this article useful? Give it a clap!
Psst! You can clap more than once if you really loved it 🙂